Calisthenics Front Lever Progression: From Tuck to Full Lever
Calisthenics, the art of using your body weight as resistance to build strength and skill, has captivated fitness enthusiasts worldwide. One of the most impressive and challenging moves in the calisthenics repertoire is the Front Lever. This advanced bodyweight skill requires immense upper body and core strength, as well as exceptional body control. In this comprehensive article, we will delve into the mechanics of the Front Lever, the muscles involved, the benefits of training for this skill, and a step-by-step guide to help you progress towards mastering the Front Lever.
Understanding the Front Lever
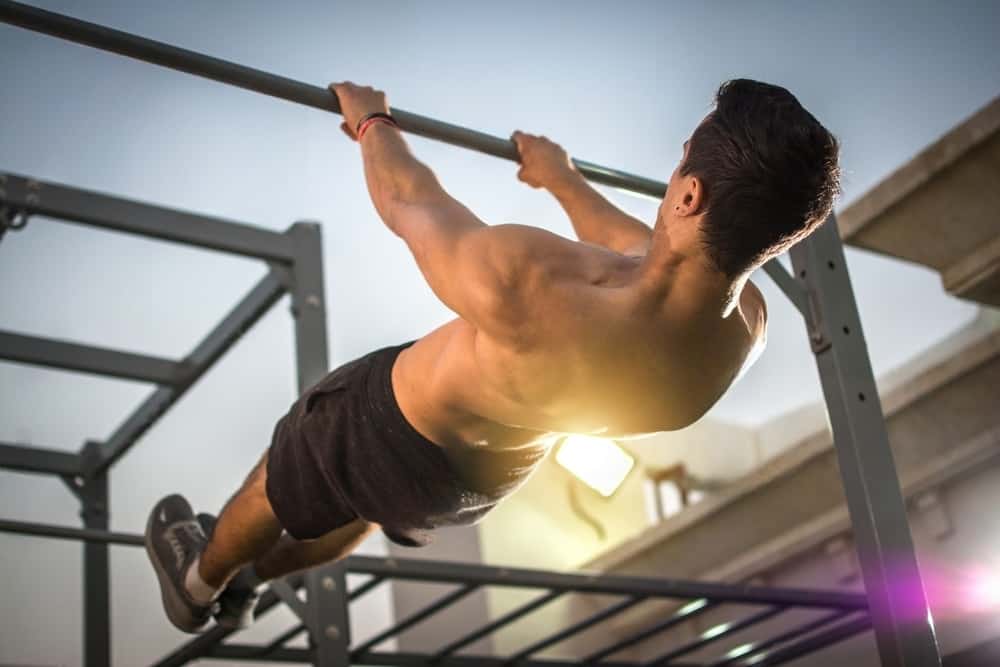
The Front Lever is a static gymnastic hold where the body is horizontally suspended in mid-air, parallel to the ground, with the arms straight and the body fully extended. The name “Front Lever” comes from the lever-like position of the body during the hold. It is an iconic demonstration of strength and control and is often seen in calisthenics competitions and demonstrations.
Muscles Involved in the Front Lever
Mastering the Front Lever requires substantial strength from various muscle groups working in harmony. The key muscles involved in the Front Lever are:
- Latissimus Dorsi (Lats): These large back muscles play a pivotal role in maintaining the horizontal body position during the lever.
- Core Muscles: The entire core, including the rectus abdominis, obliques, and transverse abdominis, is engaged to keep the body straight and stable.
- Scapular Stabilizers: Muscles such as the rhomboids, trapezius, and serratus anterior work together to stabilize the shoulder blades, essential for shoulder health and proper lever form.
- Biceps and Forearms: The arms must maintain a straight position, which demands significant strength from the biceps and forearms.
Benefits of Training for the Front Lever
Training for the Front Lever offers a myriad of benefits beyond the bragging rights of achieving an impressive bodyweight feat. Some of the key advantages include:
- Exceptional Upper Body Strength: Mastering the Front Lever requires substantial upper body strength, particularly in the back, core, and arms.
- Improved Core Stability: The Front Lever heavily engages the core muscles, leading to improved stability and balance in other calisthenics movements and everyday activities.
- Body Control and Kinesthetic Awareness: Holding a Front Lever demands exceptional body control and kinesthetic awareness, enhancing overall coordination and athleticism.
- Strengthened Connective Tissues: Consistent training for the Front Lever improves the strength of tendons and ligaments, reducing the risk of injury in other physical pursuits.
- Impressive Aesthetics: Alongside functional strength, the Front Lever contributes to a sculpted and aesthetic upper body, making it a desirable skill for calisthenics enthusiasts.
Progression Steps for the Front Lever
The Front Lever is an advanced skill that requires a systematic approach and patient progression. Follow these steps to work your way towards achieving the Front Lever:
Step 1: Master Basic Bodyweight Exercises
Before attempting the Front Lever, ensure you have a strong foundation in basic bodyweight exercises, including pull-ups, dips, rows, and core exercises like leg raises and plank variations. These exercises build the necessary strength and control needed for the Front Lever. In order to proceed with a front lever you should able to perform:
- Push Ups: 20
- Pull Ups: 10
- Dips: 15
- Chin Ups: 15
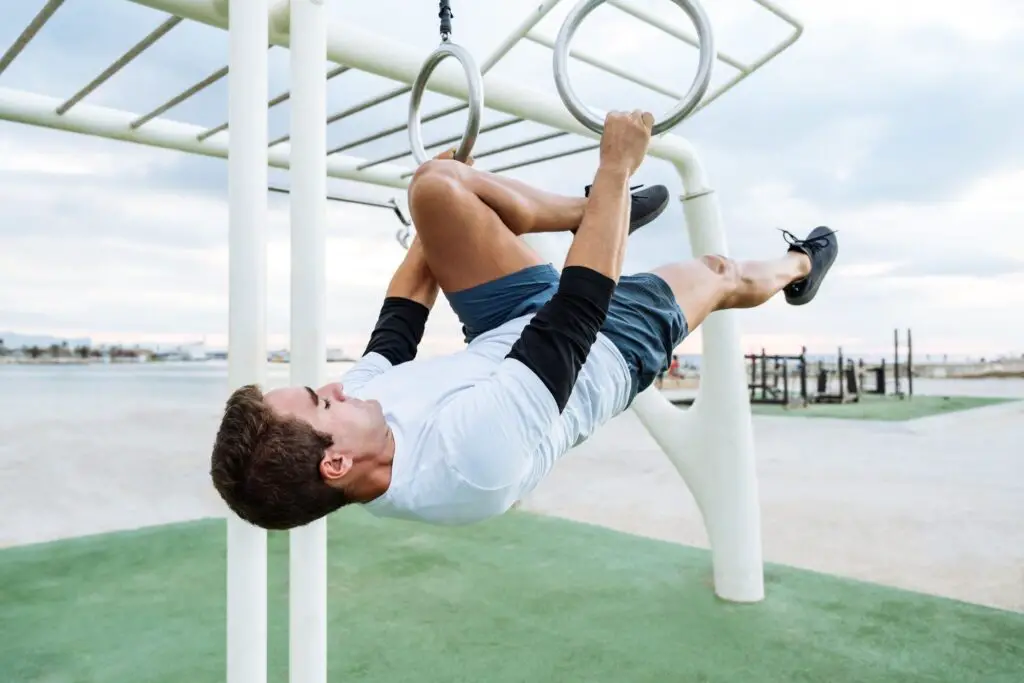
Step 2: Tuck Front Lever

Start with the Tuck Front Lever, which involves tucking your knees to your chest while holding onto a bar or rings. This tuck position reduces the leverage, making it easier to hold the lever position.
Make it your goal to hold this position for at least 20 seconds before moving on to the next progression.
Also read: How to do Back lever
Step 3: Advanced Tuck Front
Lever Gradually progress to the Advanced Tuck Front Lever by extending your legs slightly while maintaining the tuck position. This increases the challenge and engages the core more intensely.
Try to hold this position for about 20 seconds before progressing to the next level.
Step 4: One-Leg Front Lever
Once you are comfortable with the advanced tuck, start extending one leg at a time until it is parallel to the ground, while the other remains tucked. This asymmetrical position prepares you for the full Front Lever.
Make sure to aim for a solid 15 seconds of holding this position before advancing to the next progression. Building up your strength and stability is crucial, and hitting that 20-second mark will signify your readiness to take on the next challenge. Take your time, focus on proper form, and gradually work your way up to the next level.
Also read: How to do planche
Step 5: Straddle Front Lever
Move on to the Straddle Front Lever, where both legs are extended but spread apart. This further challenges your core and shoulder stability.
Make sure to aim for a 15-second hold in this position before progressing to the next level.
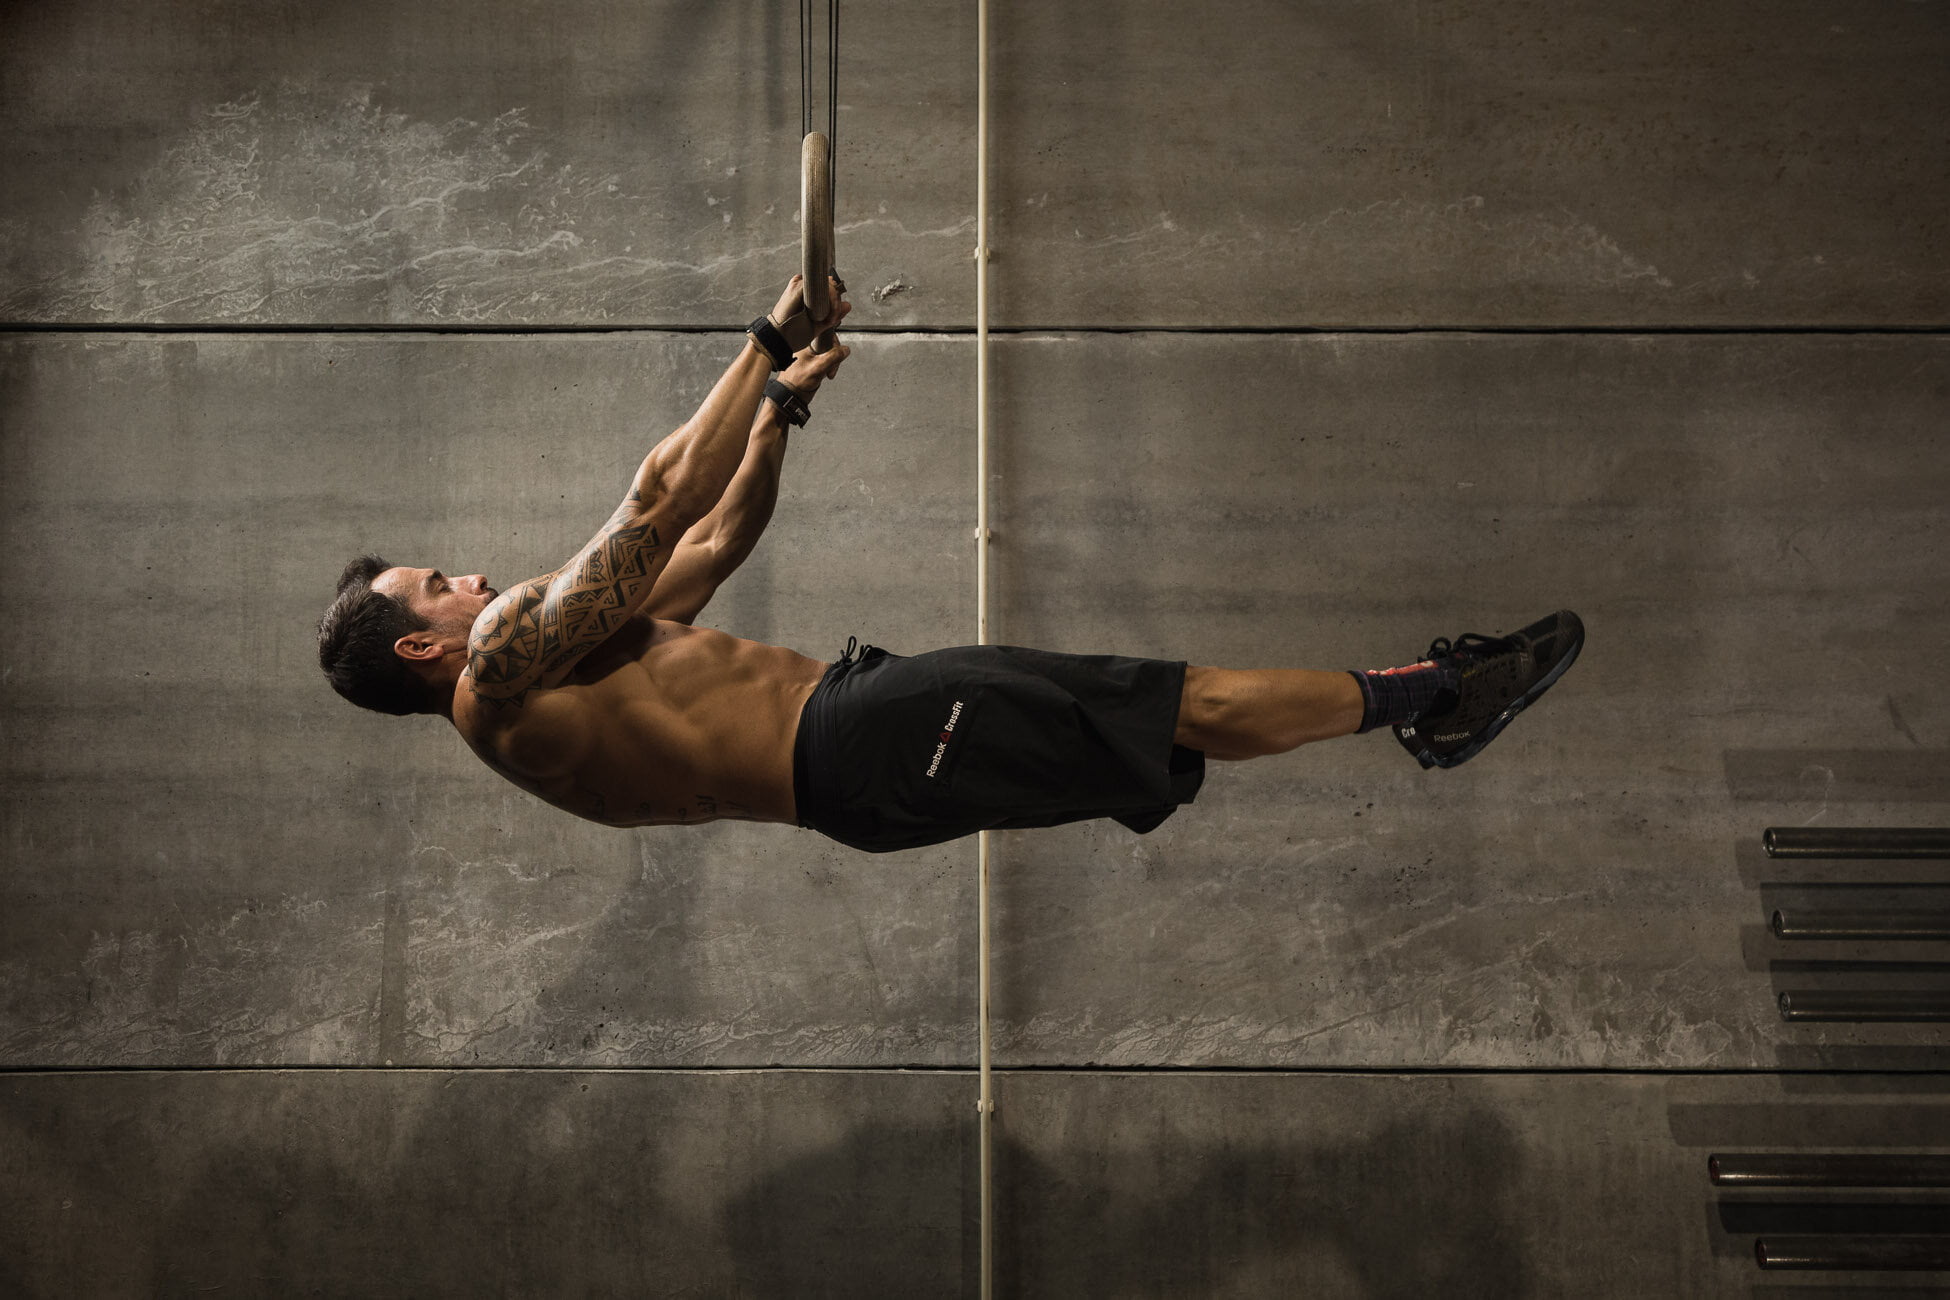
Step 6: Full Front Lever
With consistent practice and progression, you will eventually achieve the Full Front Lever, holding a perfectly horizontal body position with legs extended and together.
Strive to achieve mastery by aiming for a solid 15-second hold in this position. As you embrace the challenge of the front lever calisthenics skill, focus on perfecting your form and gradually extending the duration of your hold. With determination and practice, you’ll unlock the secrets of this impressive skill, and your hard work will pay off in a powerful display of strength and control.
Front Lever Training Tips
- Consistency is Key: Like any challenging skill, achieving the Front Lever requires consistent training and dedication. Incorporate Front Lever-specific exercises into your routine regularly.
- Mindful Progression: Avoid rushing through the progressions. Master each step before advancing to the next level to prevent injuries and ensure proper form.
- Engage Your Core: Focus on engaging your core muscles throughout the entire Front Lever progression. A strong core is essential for maintaining body alignment.
- Allow for Ample Rest: The Front Lever puts considerable stress on your muscles and connective tissues. Ensure you have adequate rest and recovery days to allow your body to heal and grow stronger.
- Film Yourself: Recording your Front Lever attempts can provide valuable feedback on your form and areas that need improvement.
Conclusion
The Front Lever is a remarkable display of strength, control, and athleticism that has become synonymous with calisthenics excellence. While achieving the Full Front Lever requires dedicated effort and patience, the journey towards mastering this skill is filled with numerous benefits for your overall fitness and body control. With consistent training, proper progression, and a strong focus on form, you too can conquer the Front Lever and elevate your calisthenics journey to new heights. Remember to enjoy the process and celebrate every milestone along the way. Happy Levering!
FAQs:
1. What is the best exercise for the Front Lever?
The best exercises for the Front Lever are progressive movements that help build the necessary strength and technique. Start with basic bodyweight exercises like pull-ups, dips, rows, and core exercises. As you progress, incorporate specific Front Lever progressions, such as the Tuck Front Lever, Advanced Tuck Front Lever, One-Leg Front Lever, Straddle Front Lever, and eventually the Full Front Lever. Consistency in training and proper progression is key to mastering this impressive calisthenics skill.
2. Is the Front Lever harder than the Planche?
Both the Front Lever and the Planche are advanced calisthenics skills that demand immense strength and control. The difficulty of each move can vary depending on an individual’s strengths and weaknesses. Some athletes may find the Front Lever more challenging due to the intense upper body and core engagement, while others might struggle with the Planche’s demand for shoulder and scapular strength. Both skills require dedicated training and patience to achieve.
3. Does the Front Lever build abs?
Yes, the Front Lever is an excellent exercise for building strong and defined abs. To hold the horizontal body position, your core muscles, including the rectus abdominis, obliques, and transverse abdominis, must engage to maintain stability. Consistent Front Lever training can significantly contribute to developing a well-rounded and sculpted midsection.
4. How can I practice my Front Lever at home?
Practicing the Front Lever at home is possible with minimal equipment. You can use a sturdy pull-up bar or rings to perform various Front Lever progressions. Start with the Tuck Front Lever and gradually progress to more advanced variations. Ensure your training area is safe and allows enough space for your body to extend fully during the lever holds.
5. How fast can you learn the Front Lever?
The time it takes to learn the Front Lever varies from person to person and depends on several factors, including your current fitness level, strength, and consistency in training. For some individuals, it may take several months of regular practice to achieve the Full Front Lever, while others may take longer. Be patient, listen to your body, and celebrate each milestone in your journey towards mastering this impressive skill.
6. Can I train the Front Lever every day?
Training the Front Lever every day is generally not recommended. This advanced skill puts significant stress on your muscles and connective tissues, requiring ample time for recovery and growth. Allow at least 48 hours of rest between Front Lever training sessions to prevent overtraining and reduce the risk of injury. Instead, focus on quality sessions with adequate rest and recovery days to maximize progress and minimize the chance of overuse injuries.